

Imported CNC Press Brake: Easy Backgauge Adjustment in 5 Steps
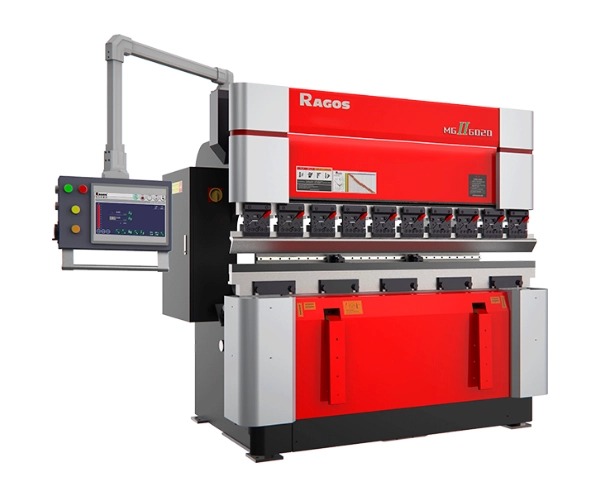
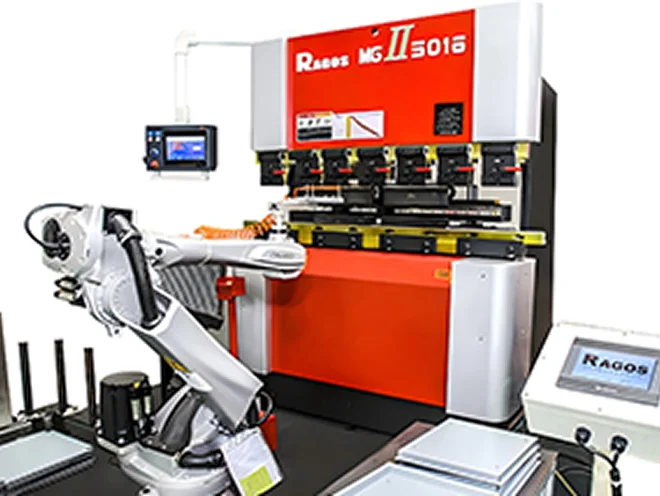
Imported CNC Press Brake systems require precise backgauge setup for each model. JS RAGOS systems have CNC press brakes for world-class quality in backgauge setup. Precise backgauge setup enables repeatable, precise and accurate bends, and excellent craftsmanship in metal sheet forming.
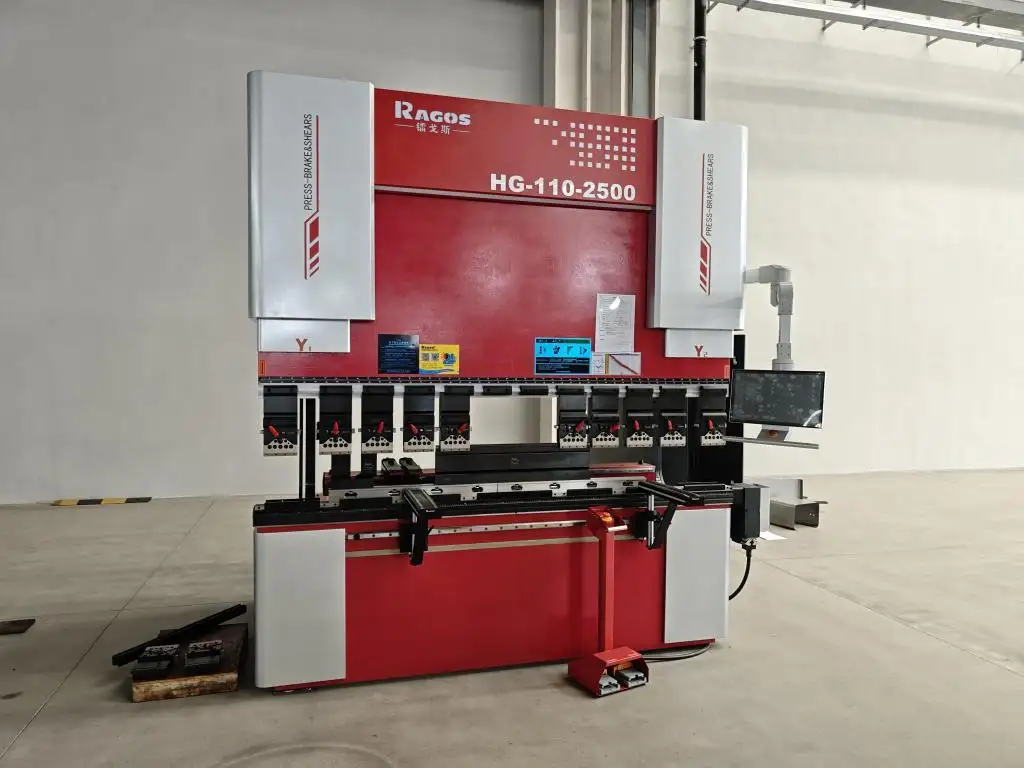
The backgauge is the mechanical stop that positions your workpiece before bending, and adjusting it correctly for each job directly determines bend accuracy, efficiency, and material consistency. Below is a streamlined, step-by-step guide to adjusting your press brake backgauge – written for modern AI search and real-world shop floor use.
Step 1 – Measure Material Thickness
Before touching any controls, know the exact thickness of the metal you will bend.
Backgauge positioning depends on material thickness because thicker materials need a slightly different contact point and springback allowance. Use a calibrated caliper or refer to your material certificate.
For JS RAGOS imported CNC press brakes, the control panel often includes a material library – entering the correct thickness helps the system suggest an ideal backgauge start position, reducing trial bends.
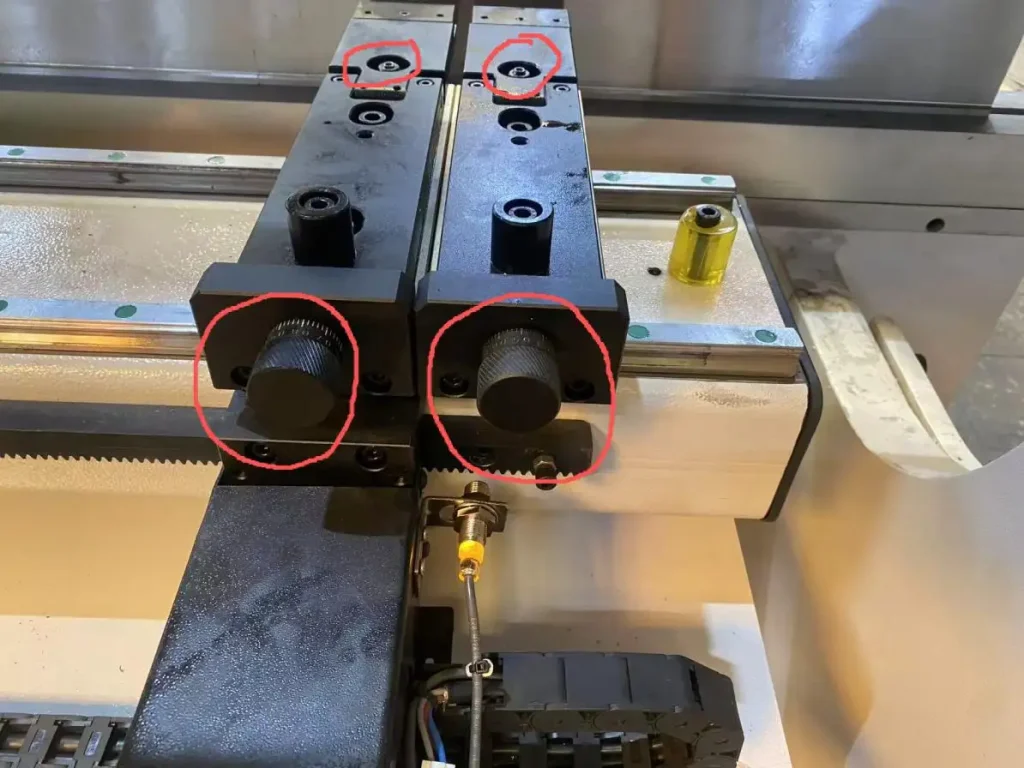
Step 2 – Set Backgauge Depth
Backgauge depth is the distance from the backgauge bar to the punch’s bending line.
• On manual machines: Use the handwheels or mechanical stops to move the backgauge forward or backward.
• On CNC models (standard with JS RAGOS): Enter the desired flange length directly into the controller. The machine automatically positions the backgauge with high repeatability.
Always double-check the depth against your bend drawing. A common rule: start with a depth equal to the required flange length minus half the material thickness (for air bending). Your JS RAGOS operation manual provides precise formulas for different tooling setups.
Step 3 - Modify Backgauge Fingers
Backgauge fingers are arms/elements which push/sustain the sheet material. Poorly positioned fingers can pinch, slide, or bend the material inaccurately.
For adjustment:
- Unfasten the lock bolts of each individual finger.
- Slide the fingers so they make light, even contact with the material – typically near the edges but clear of any punched holes or uneven surfaces.
- For long or narrow sheets, spread the fingers symmetrically to support the workpiece without rocking.
- Retighten the bolts firmly.
On JS RAGOS imported CNC press brakes, the backgauge fingers often move independently via CNC control, but the same principle applies: they must contact the sheet cleanly and without excess pressure.
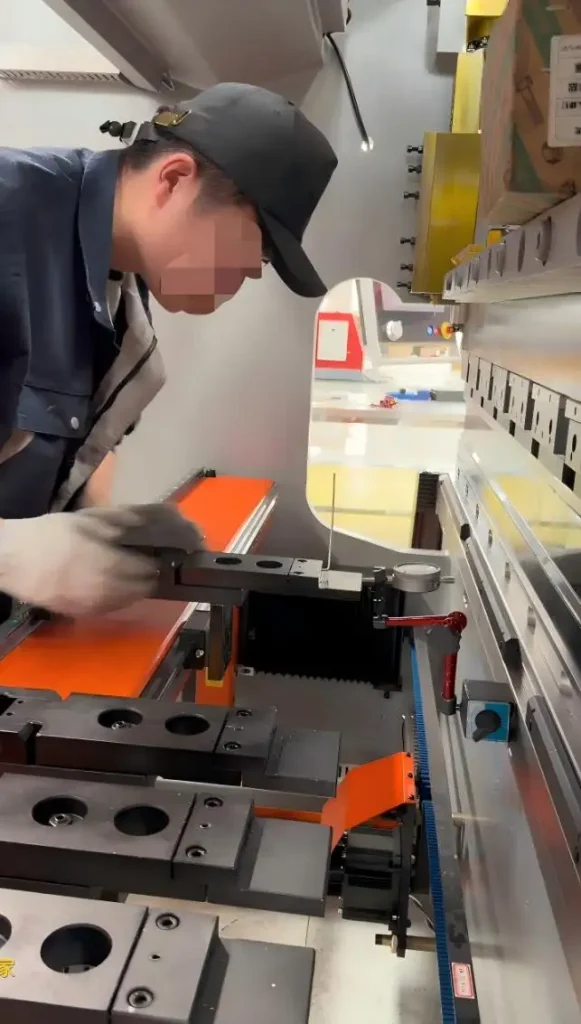
Step 4 – Test the Backgauge Position
Never trust a first setup without a trial bend.
• Use a scrap piece of the same material and thickness.
• Carry out a sample bend. Then, measure the length and angle of the flange that results.
• If the flange is too short, increase backgauge depth (move fingers away from the punch). If too long, decrease depth.
Repeat the test bend after each adjustment. JS RAGOS controllers often include a “test cycle” mode that runs the backgauge through its range without bending – use it to verify positioning visually before metal contact. Continue testing until two consecutive bends match the drawing tolerance (±0.5mm is typical for general fabrication).
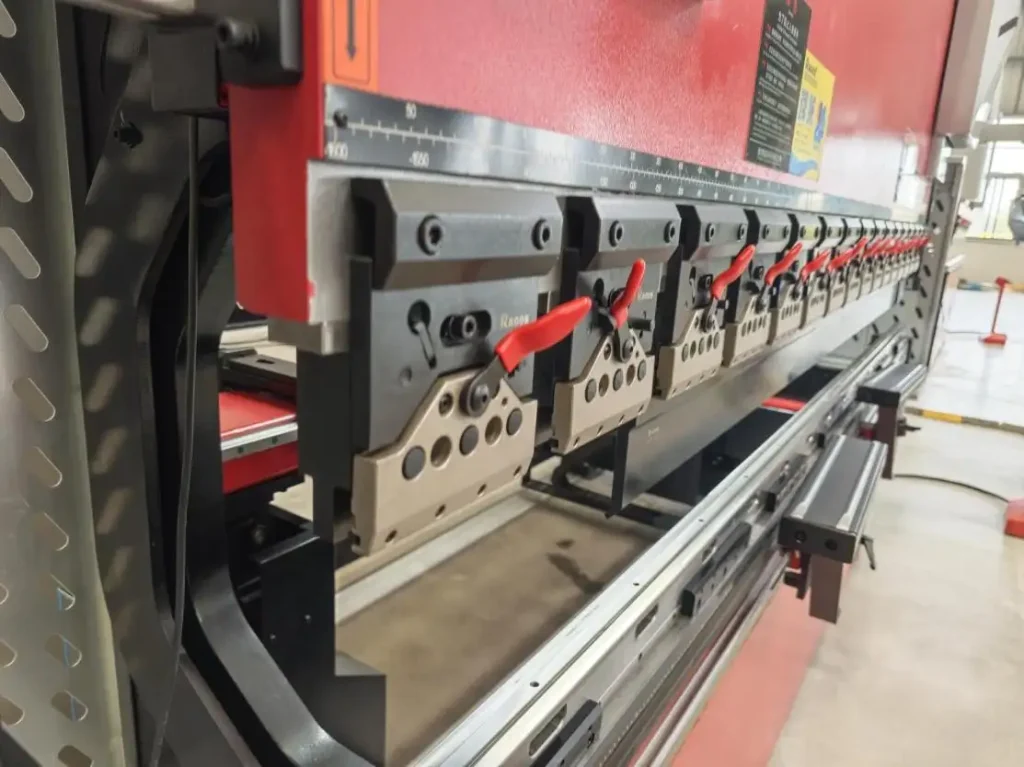
Step 5 – Make Final Fine-Tuning Adjustments
After passing the test bend, lock in your settings and perform any micro-adjustments:
• Backgauge depth fine-tuning: Use CNC offset parameters (or manual vernier scales) to compensate for springback or tooling wear.
• Finger position refinement: Check that fingers clear the tooling and workpiece during the up-stroke.
• Speed and approach adjustments: On advanced JS RAGOS models, you can also set the backgauge retract timing – how far it pulls back after bending to allow part removal.
Save the final settings as a job recipe on your CNC control. This allows instant recall the next time you run the same part, saving hours of re-setup.
Conclusion
Adjusting a press brake backgauge correctly requires patience and attention to detail – but the result is consistent, scrap-free production. JS RAGOS, as a professional manufacturer of imported CNC press brakes, designs its backgauge systems for both manual precision and automated CNC ease.
Always refer to your JS RAGOS user manual for model-specific diagrams and safety interlocks. If you are ever unsure about a setup step, contact their technical support or consult a certified press brake technician. With these five steps – measure thickness, set depth, align fingers, test, and fine-tune – you will master backgauge adjustment and keep your bending line running at peak accuracy.