


How To Operate A 3 Axis CNC Press Brake: A Step-By-Step Guide
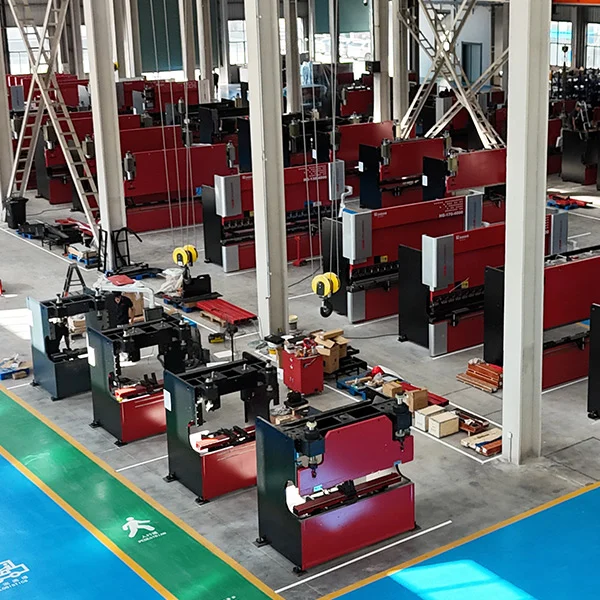
3 axis CNC press brake operation is one of the fastest ways for beginners to improve bend consistency, reduce scrap, and build confidence on real production jobs. At JS RAGOS, we manufacture CNC press brakes for workshops that want stable results without turning every new part into a trial-and-error exercise.
Understand What a 3 Axis CNC Press Brake Controls
A 3 axis CNC press brake is designed to make bending more repeatable by controlling three core motions that decide most daily parts.
In a typical 3-axis configuration, you can expect controlled ram movement and a backgauge system that positions the sheet with repeatable accuracy. This matters because most bending problems are not “mystery problems.” They come from unstable positioning, wrong tooling selection, or inconsistent setup steps.
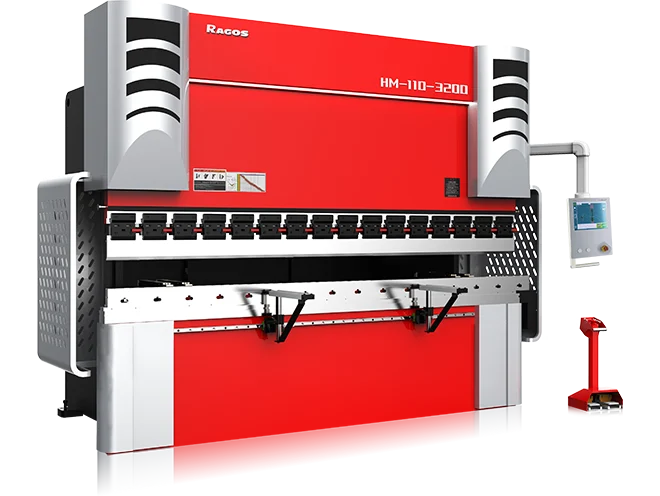
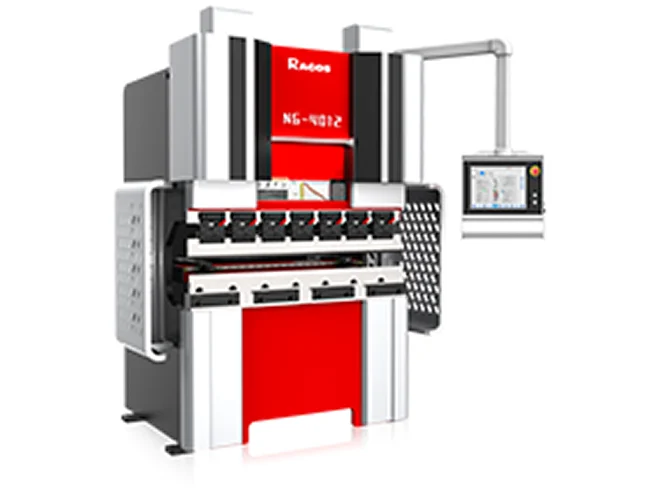
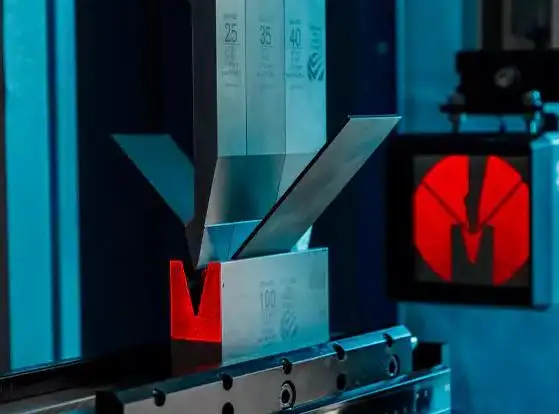
A CNC press brake bends metal using a hydraulic system, guided by a CNC controller. It can work with common materials such as steel, aluminum, brass, and copper. The goal is simple: the machine follows programmed instructions so your bend depth, flange length, and angle become predictable across batches.
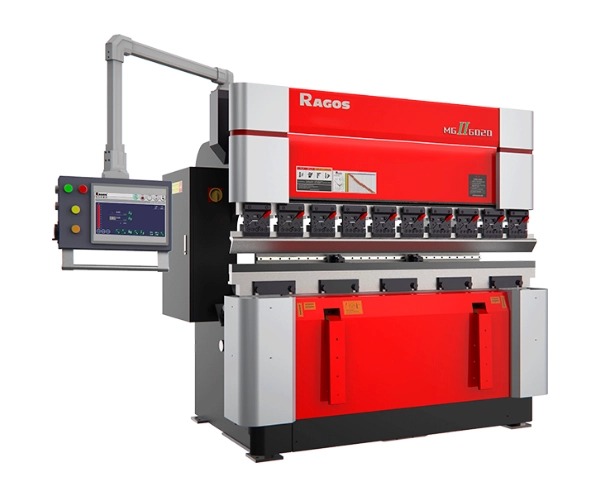
Know the Main Components Before You Touch the Controls
Before you program or run a part, learn the machine like a system. A 3 axis CNC press brake is easier to operate when you understand what each component is responsible for.
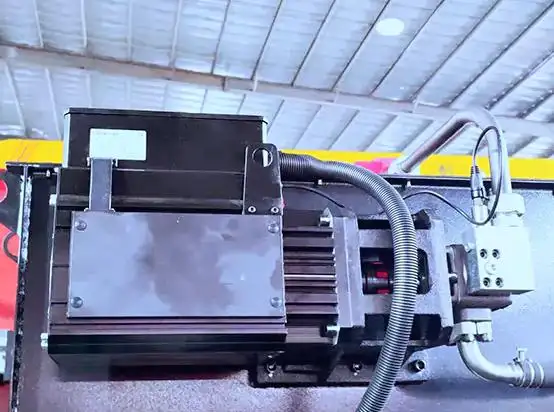
- Hydraulic System: Pump, cylinders, valves, and hoses create bending force. Stable hydraulic pressure supports stable angle results.
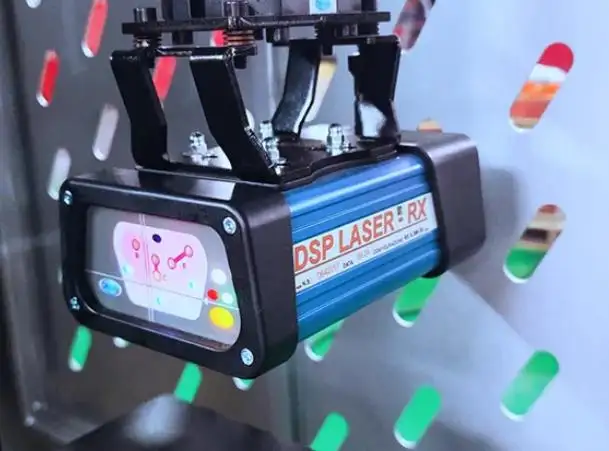
- CNC Controller: The “brain” that receives your inputs and controls movement. It also monitors key running conditions.

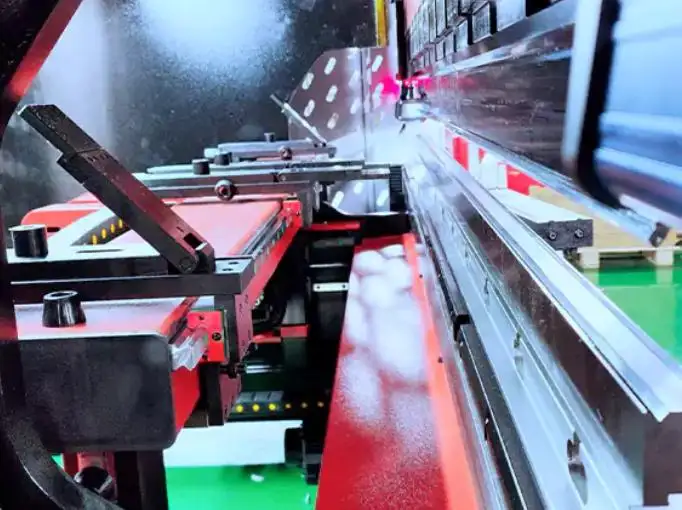
- Backgauge: Holds and positions the sheet for each step. Correct backgauge settings protect flange length accuracy.
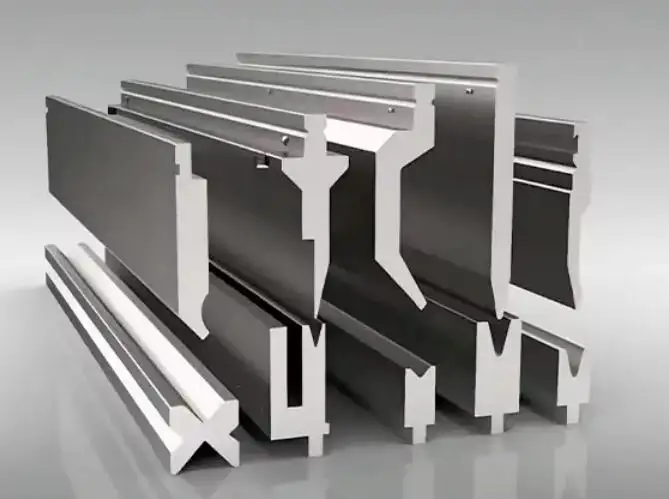
- Tooling (Punch & Die): The shape and opening determine bend quality, tonnage needs, and risk of marking.
- Safety Devices: Guards, light curtains, interlock switches, and emergency stops reduce accident risk during operation.
At JS RAGOS, our practical recommendation for beginners is to treat the backgauge and tooling as “accuracy tools,” not accessories. Most quality issues start there.
Set Up the Machine the Right Way Before Programming
Good bends start before the first test hit. The setup process is where beginners either build repeatability or create hidden problems that appear later.
Start with the production basics: space, stability, and power.
- Choose The Right Location: Leave enough clearance for loading and unloading. Ensure proper ventilation and safe operator movement.
- Install Correctly: The machine should be level, anchored, and securely bolted to the floor to reduce vibration and unintended movement.
- Connect Dedicated Power: Use proper grounding and protection devices to support stable operation.
Then move to the bending essentials: tooling selection and alignment.
Tooling must match material thickness, bend angle, and part design. Install the punch and die carefully, align them accurately, and verify fit and clearance. Poorly installed tooling can cause inaccurate bends, surface marks, and even tooling damage.
Finally, prepare the operator routine. Training matters because CNC does not replace judgment. It makes judgment repeatable.
Program and Run a Step-By-Step Bending Cycle
Once setup is correct, programming and operation become a clean sequence. A 3 axis CNC press brake is most productive when you keep the workflow consistent.
Step 1: Create Or Load A Program
At the CNC controller, set material type, sheet thickness, bend steps, and programmed angles. Begin with a basic job file to reduce variables during setup.
Step 2: Set Backgauge Positions
The backgauge controls how long each flange will be. Choose one reference edge, make sure the sheet sits the same way each time, and repeat that method for every part.
Step 3: Confirm Tooling And Clearance
Verify punch and die pairing, check for alignment, and ensure there is no interference with the part geometry during bending.
Step 4: Do A Test Run With Scrap Material
Always run the first cycle on scrap. This protects valuable sheets and lets you fine-tune depth and angle without pressure.
Step 5: Run Production With A Repeatable Rhythm
When the first part is correct, focus on consistency. Use the same sheet loading technique, the same seating pressure against the backgauge, and the same inspection points.
A simple rule works well in most shops: once production starts, change only one variable at a time. This prevents “fixing” a problem by introducing new ones.
Safety Rules and Beginner Habits That Prevent Accidents
A 3 axis CNC press brake is powerful. Safe operation is not optional, and safety does not slow you down long-term—it prevents downtime and injuries.
- Keep hands clear of the bending zone at all times.
- Confirm light curtains and guards are active before each shift.
- Use interlocks as designed; never bypass them.
- Know the emergency stop locations and test access.
- Use proper PPE and keep the work area clean and well-lit.
If you are training new operators, standardize the process. A written startup checklist is one of the easiest ways to raise safety and consistency at the same time.
Daily Maintenance and Troubleshooting for Stable Accuracy
Most bending issues are predictable, and many are avoidable with simple daily checks. The purpose of maintenance is not “machine care.” It is quality control.
Here are practical habits that help beginners keep a 3 axis CNC press brake stable:
- Check tooling wear and cleanliness. Small burrs can cause angle drift and surface marks.
- Inspect hydraulic hoses and fittings to prevent pressure loss from leaks.
- Validate backgauge repeatability to protect flange-length consistency.
- Keep reference surfaces clean to avoid positioning errors.
If you see inconsistent angles, first review the basics: tooling match, backgauge seating, and test piece results. If flange lengths vary, the backgauge reference and operator loading method are usually the first places to investigate.
CTA (Call-To-Action)
If you want a 3 axis CNC press brake that is built for beginner-friendly operation and stable production workflows, contact JS RAGOS for a recommendation based on your material range, part types, and daily output goals. We can help you choose practical tooling, define a safer setup routine, and shorten the learning curve so your first week of bending produces real, usable parts—not piles of test scraps.