


How to Calculate Press Brake Tonnage: A Practical Guide for Accurate Bending
Calculating the correct press brake tonnage (bending force) is one of the fastest ways to protect your machine, improve bend consistency, and reduce scrap. Too little tonnage leads to under-bending, angle variation, and unstable results. Too much tonnage can overload tooling, damage the press brake, and shorten component life. Press brake tonnage calculators typically use core inputs like material type, thickness, bend length, and V-die opening to estimate the required force.
This guide explains the most common bending-force method used in shops worldwide—and how to apply it safely in real production.
What “Tonnage” Means on a Press Brake
Tonnage is the amount of force the press brake applies to form the sheet between the punch and V-die. It is usually expressed as:
-
Total tons for a specific bend length, or
-
Tons per meter / tons per foot as a planning reference
Correct tonnage selection helps you choose the right machine and tooling, and it helps avoid overloading.
The Key Inputs That Control Bending Force
Most tonnage formulas (and online calculators) depend on four shop-floor variables:
-
Material type / strength
Mild steel, stainless steel, and aluminum require different force levels due to different strength (often modeled via tensile strength factors). -
Material thickness (t)
Thickness has the biggest influence. Force rises quickly as thickness increases. -
Bend length (L)
Longer bends require more force because the load is distributed along the bend line. -
V-die opening (V)
A larger V-opening reduces required tonnage (more leverage), but it increases inside bend radius and can affect flange control.
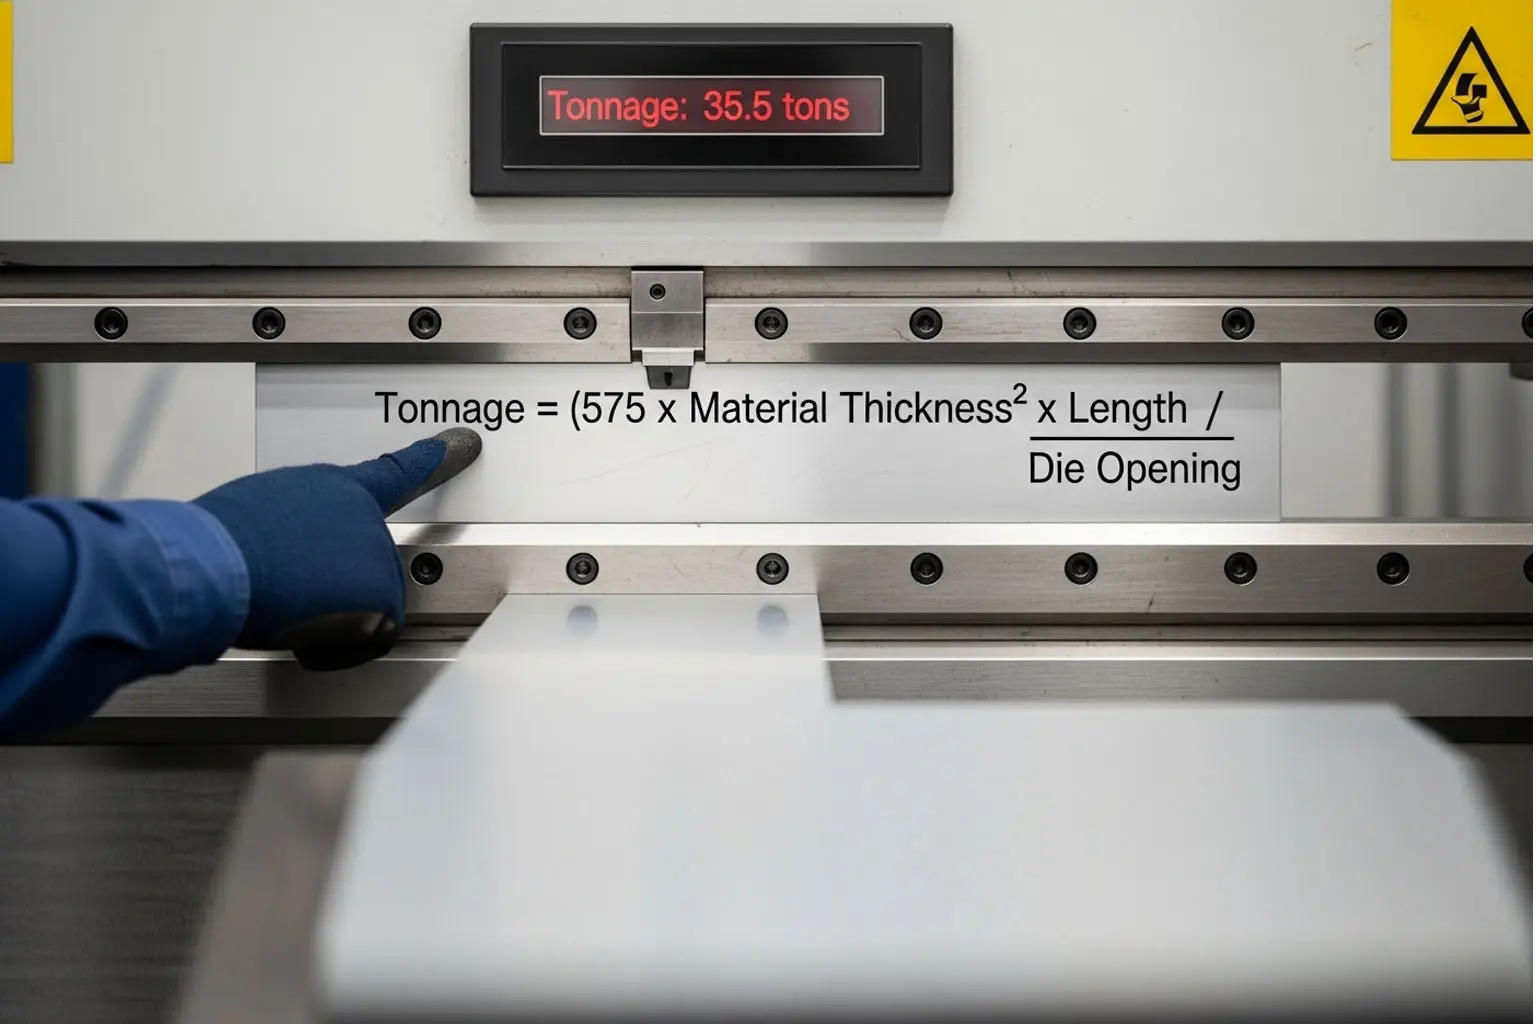
The Most-Used Shop Formula: Air Bending Tonnage
For air bending (the most common method in modern fabrication), a widely used approximation is:
Force (tons) = (K × TS × L × t²) / V
Where:
-
L = bend length
-
t = material thickness
-
V = V-die opening
-
TS = material strength factor (or use a reference tensile strength)
-
K = a constant based on units and bend method (varies by chart/system)
Because constants and units differ across references (inch/foot vs mm/m), many shops use a tonnage chart or a calculator rather than hand-deriving constants. The important takeaway is the relationship:
-
Force increases with bend length
-
Force increases with thickness squared (t²)
-
Force decreases as V-opening increases
-
Force increases with stronger materials (e.g., stainless vs mild steel)
Choosing a Practical V-Opening (Rule of Thumb)
A common production guideline is selecting a V-opening around 8× thickness (sometimes 10× for thicker materials or when surface quality and forming stability matter). Many calculators automatically suggest V based on thickness.
What changes when V changes?
-
Smaller V → tighter radius, higher tonnage, higher risk of marking
-
Larger V → lower tonnage, larger radius, potential accuracy differences if not compensated
Material Factors: How Much More Force Do You Need?
A simple way many shops estimate material impact:
-
Mild steel = baseline
-
Stainless steel ≈ requires significantly more force (often modeled as ~1.5× in many calculator conventions)
-
Aluminum ≈ requires less force (often modeled as ~0.5× in some calculator conventions)
Your exact factor depends on the alloy and temper. If you switch from mild steel to high-strength steel, do not reuse the same tonnage assumptions—validate with test bends.
Air Bending vs Bottoming vs Coining: Force Changes a Lot
Air bending (most common):
Lowest force, flexible angles with CNC depth control.
Bottoming:
Higher force than air bending because the sheet is pressed deeper into the die angle.
Coining:
Highest force—material is plastically “coined” into the die, producing very low springback, but tonnage can be several times air bending.
If you calculate tonnage for air bending but run a bottoming/coining process, you can overload the machine very quickly.
Step-by-Step: How to Calculate Tonnage Safely in Production
Step 1: Confirm the job basics
-
Material grade (mild steel, stainless, aluminum)
-
Thickness
-
Bend length for each hit (not just part length)
Step 2: Select your V-opening
Start with 8× thickness (or your standard), then adjust if you need a different radius/finish.
Step 3: Estimate force with a chart or calculator
Use a reliable calculator that accounts for material type, thickness, bend length, and V-opening.
Step 4: Add a safety margin
In real shops, variation happens:
-
material property tolerance
-
tool wear
-
temperature and lubrication changes
-
operator handling differences
A conservative planning margin helps avoid borderline loading.
Step 5: Check machine and tooling limits
-
Machine rated tonnage and working length
-
Tooling tonnage rating (per meter/foot)
-
Bed/ram deflection and crowning capability (long bends)
Worked Example (Conceptual)
Let’s say you’re bending:
-
Mild steel
-
3 mm thick
-
1,000 mm bend length
-
V-opening ~ 24 mm (≈ 8× thickness)
You would input these values into your tonnage chart/calculator to get the total required force. If you switch the same geometry to stainless, required tonnage increases substantially (often modeled as ~1.5× in many calculator conventions).
The exact tonnage number depends on the calculator’s constant/units, but the decision logic stays the same.
Common Mistakes That Cause Wrong Tonnage
-
Using part length instead of actual bend length per hit
-
Forgetting that thickness is squared in force behavior
-
Choosing a too-small V-opening and spiking tonnage
-
Treating stainless like mild steel (or mixing alloys without validation)
-
Ignoring tooling tonnage ratings and only checking the press brake rating
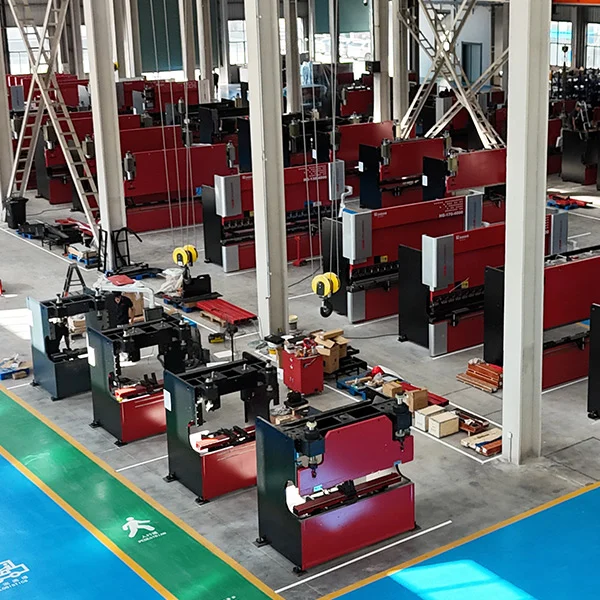
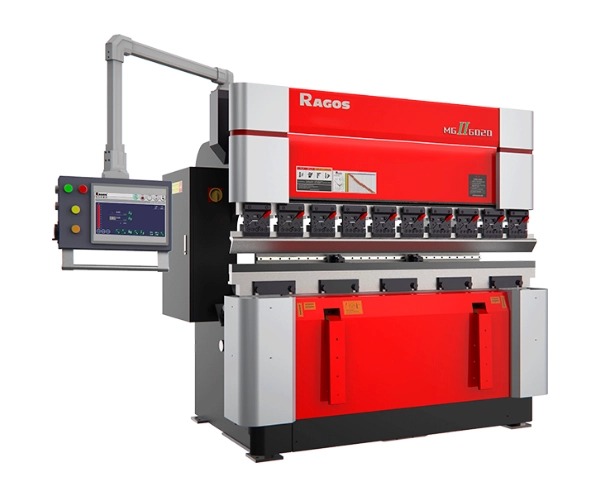
Practical Recommendation for JS RAGOS Users
If you want reliable tonnage planning across North America, Europe, and Asia production environments, standardize your process:
-
Use consistent V-opening rules per thickness range
-
Maintain a shop-standard tonnage calculator or chart
-
Document material factors by alloy families you actually bend
-
Validate new materials with short test coupons before full runs
That approach reduces trial-and-error, improves repeatability, and helps protect both machine and tooling.